Top Things I Wish Were More Clear In Max/MSP
I really enjoy working in Max/MSP, especially on Max For Live devices. This is something that sets Ableton Live apart from other DAWs, and really speaks to the Art+Science part of me.
I didn't always enjoy working in Max. As a beginner, it all seems so opaque, and others' patches just seem to magically work. But I've worked with computers for long enough to know that when anything feels like magic, I just need to learn more about it.
This post exists to help others get over the hump of feeling comfortable and confident working with Max. It's not a beginner's tutorial (there are several out there), but rather a collection of bits and pieces that were either important to my learning journey, or a feature implemented in a non-intuitive way.
The Basics
Usually Only The First Inlet Triggers Some Action
With most objects, sending a value to the first inlet typically triggers an action. When you send values to any subsequent inlet, the object will just hold on to that value and not do anything.
A good example of this is the [+] (addition) object. It has two inlets, one for each number on either side of the + operator. Sending a number to the 2nd inlet just gets it ready to add that number to whatever shows up on the 1st inlet. Sending a number (or bang) to the 1st inlet, actually does the addition and sends the result to the [+] outlet. This is a hugely important thing to understand when working with Max.
Therefore, if you want to add two numbers, make sure the number on the right inlet is received before the left number.
Only one thing happens at a time in Max, and you have control over the order of things (keep reading).
Outlets Work From Right To Left
This is actually documented quite a lot, but I didn't really appreciate its importance until I really got into Max. Use this to control what happens when. The [trigger] object is a good example of this. If you send an integer to a [trigger bang float] (you can also write [t b f]), then the float will be sent out the right outlet, then the bang will be sent out the left outlet.
Combining this with the previous point, you would need to build something like this to actually add two numbers when either of them change:

When the first number changes, it's sent to the [+] and the addition happens. When the second number changes, its value is sent to the [t] (trigger) object. The trigger first sends the new number to the second inlet of the [+], THEN a bang is sent to the first inlet of the [+], which triggers the calculation.
If you just hook up the two [num] objects to the [+], output will only be generated when the left number changes.
Use the Second Inlet of a [message] to Show Stuff
I had been using [print FOO] to output debugging messages to the Max console (Cmd-Shift-M to show/hide), but it's not always the best or most convenient option. In some cases, just seeing a value in-place in the patcher is best. So for those cases, hooking up some source of anything to the second inlet of a [message] (shortcut key "m") will show whatever is being sent out.

Presentation Mode
This one is super non-obvious from reading docs or looking at other peoples' patcher work. Presentation Mode is an alternative view of your patcher that only includes things you want to show in the UI. This lets you have a "development view" of your work and a "UI view". This lets you make a readable, sensible development view without a lot of spaghetti connecting to UI elements.
If you want to use the Presentation Mode, you have to:
- Open the patcher inspector
- Click the <P> icon in the header of the inspector
- Scroll to the bottom of the properties and check the "Open in Presentation" checkbox.
Cycling 74, if you're reading this ... why?!?!?!? Why is this so buried?
Now for each UI element you want to show up in the presentation view, either right-click or open the inspector and select "Show in Presentation".
Use Comments
Just like a good programmer, commenting your work helps others (and yourself!) understand what is going on. I feel like this is much more important in Max than in regular programming languages, because of the visual nature of the environment (this is counter-intuitive, I know).
Use the shortcut "c" to add a comment box. I like to color the comment text a distinctive color to make it stand out.

Mouseless Message Exit
Unlike every other device in Max, pressing Enter when editing a message just moves the cursor to the next line of the message, which is something I've wanted to actually do exactly zero times. To actually finish editing the message when using the keyboard, use Shift-Enter. Dear Cycling 74: consistency is important for user experience.
Editing A Frozen Patcher Makes a Copy
If you open a frozen device from Ableton Live, a copy will be made of the frozen device and saved into the Live User Library. So if you're a device developer and you're testing your frozen device, be aware that if you make any changes you should make sure the changes are being saved where you think they are being saved.
Javascript [js]
Special Variables
There are a few special variables that you can use in a [js] object's Javascript code. I always put them at the top of the file.
autowatch=1;
This is equivalent to setting the @autowatch flag on the device itself. Not sure why Cycling 74 felt the need to do the same thing in two very different ways. This flag will make it so the device is reloaded if the javascript file changes. Very handy for development.
inlets=5;
outlets=3;
Fairly self-explanatory -- controls how many inlets and outlets are provided in the device.
Define Variables for Inlet and Outlet IDs
As a long-time software engineer, any time I see "magic numbers" I look for a way to eliminate them. In this case, the magic numbers are the inlet or outlet IDs.
// at the top of the file
var OUTLET_OSC = 3;

// appearing several times in various functions
outlet(OUTLET_OSC, ['/device' + instanceId, deviceName]);
By defining variables, the source code is more easily understood. Also, if the inlet/outlet layout changes, you only need to update the ID in one place. Less work and less bugs.
Setting Inlet/Outlet Help Text
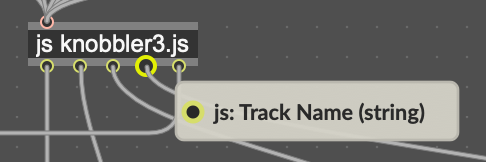
The built-in function setoutletassist(NUM, "help text"); can be used to provide helpful text that shows up if you hover over the inlet/outlet in the patcher view.
var OUTLET_OSC = 0;
var OUTLET_PARAM_NAME = 1;
var OUTLET_DEVICE_NAME = 2;
var OUTLET_TRACK_NAME = 3;
var OUTLET_MAPPED = 4;

setoutletassist(OUTLET_OSC, 'OSC Messages');
setoutletassist(OUTLET_PARAM_NAME, 'Param Name (string)');
setoutletassist(OUTLET_DEVICE_NAME, 'Device Name (string)');
setoutletassist(OUTLET_TRACK_NAME, 'Track Name (string)');
setoutletassist(OUTLET_MAPPED, 'Is Mapped (boolean)');

Parsing Function Arguments
This drove me crazy for so long. Many methods that handle receiving messages or interacting with the Live API (e.g. callbacks) appear to receive an array in the first argument, but it's definitely not an array. You have to use the built-in function arrayfromargs() to properly do some nonstandard voodoo to convert whatever object Max has decided to pass as an arg into an array. No idea why Cycling 74 chose this path and then barely documented it.
function paramNameCallback(args) {
  var args = arrayfromargs(args);
  if (args[0] === 'name') {
    param.name = args[1];
    sendParamName();
  }
}
Handy Debug Logging Function
The built-in console logging function post() is a pain in the ass. Not only is the name bad, but you have to include a newline character at the end of your logging payload if you want it to be its own log message. There is no built-in control over logging levels, so debugging code tends to leave a lot of commented-out post() calls everywhere, or unnecessarily verbose debug logging left in because commenting and uncommenting is a pain.
I wrote this small method "debug()" that I use in my patches that pays attention to a variable called debugLog to decide whether or not to log anything and gives context about what function it's called from.
var debugLog = true; // change to false to disable debug() from logging

function debug() {
  if (debugLog) {
    post(
      debug.caller ? debug.caller.name : 'ROOT',
      Array.prototype.slice.call(arguments).join(" "),
      "\n"
    );
  }
}

debug('hello from here');
Networking / OSC
Send and Receive OSC With [udpsend] and [udpreceive]
It's non-obvious from the names of the objects, but the [udpsend] and [udpreceive] objects are really tailored to working with OSC messages.
Using mDNS Hostnames With [udpsend] and [udpreceive] Can Cause Freezes On Load
If you have set up your [udpsend] and [udpreceive] objects with mDNS hostnames for sources/destinations, and the device is not powered on, then it can cause a spinning beach ball on a Mac while the system times out waiting for the DNS resolution.
The best solution to this that I've found is to use the Zeroconf Package to properly implement mDNS advertising and discovery. Use the IP addresses it provides in your objects rather than hostnames.
Fix Spaghetti With [send] and [receive]
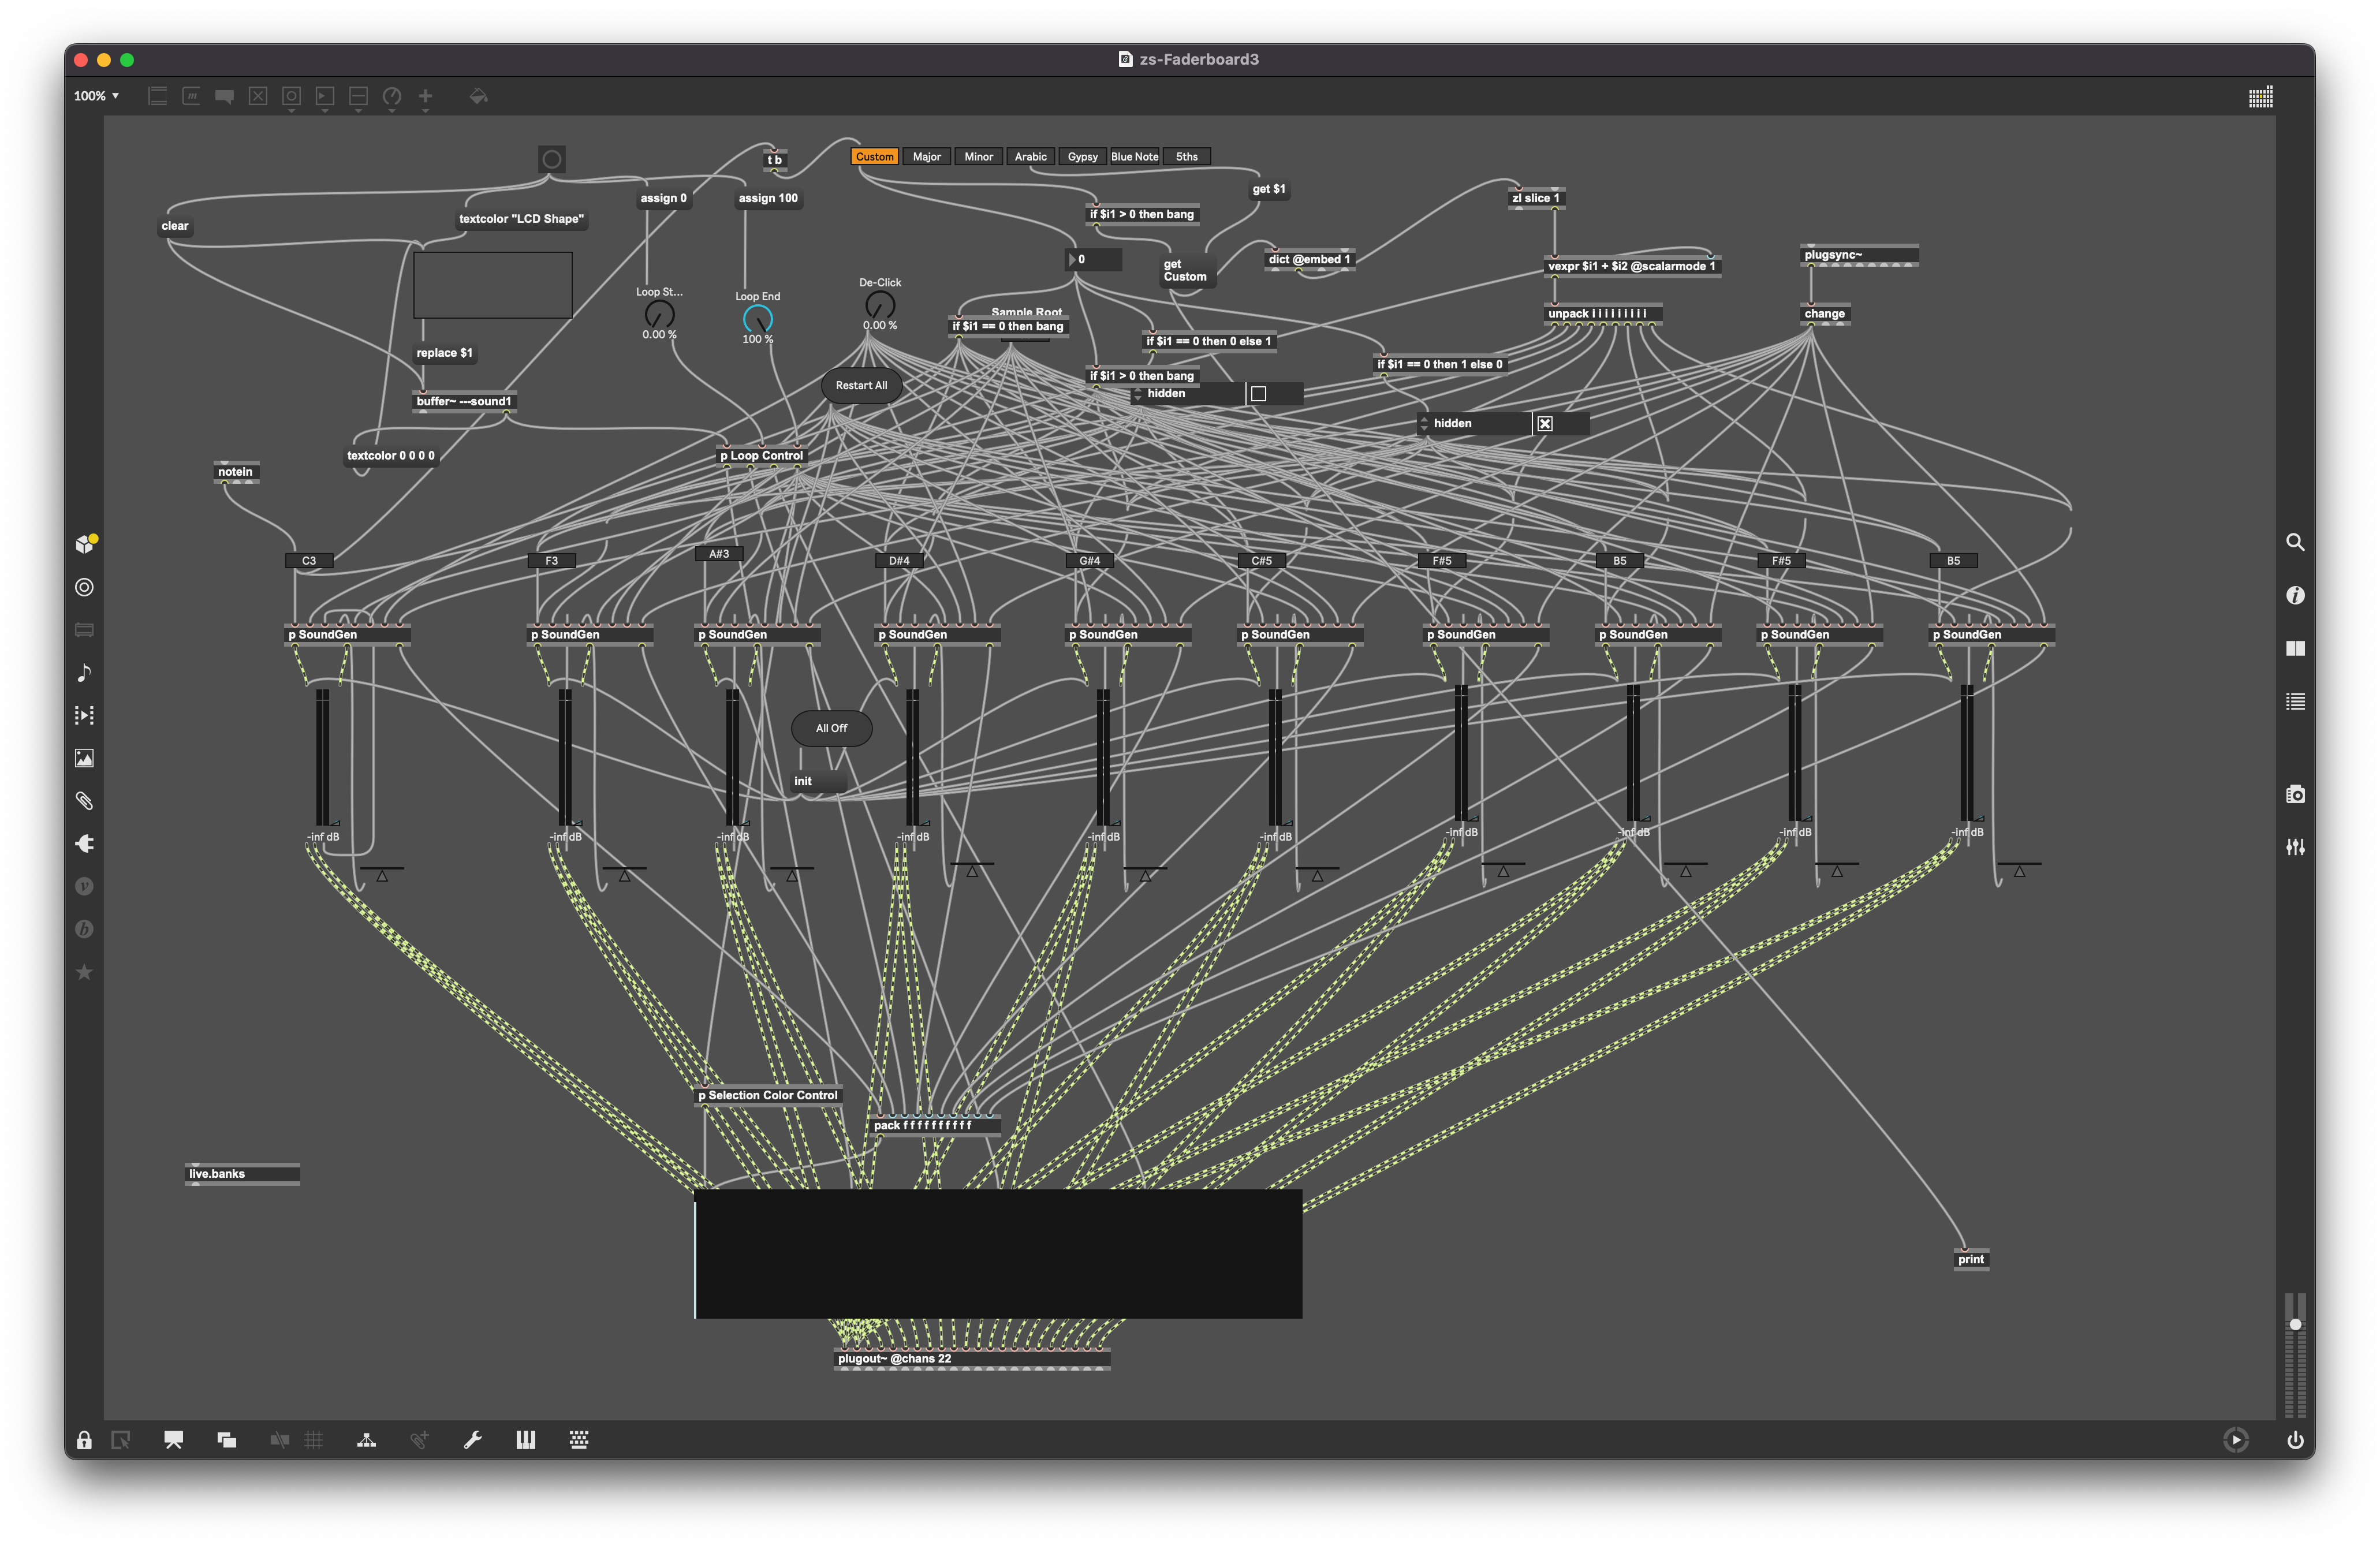
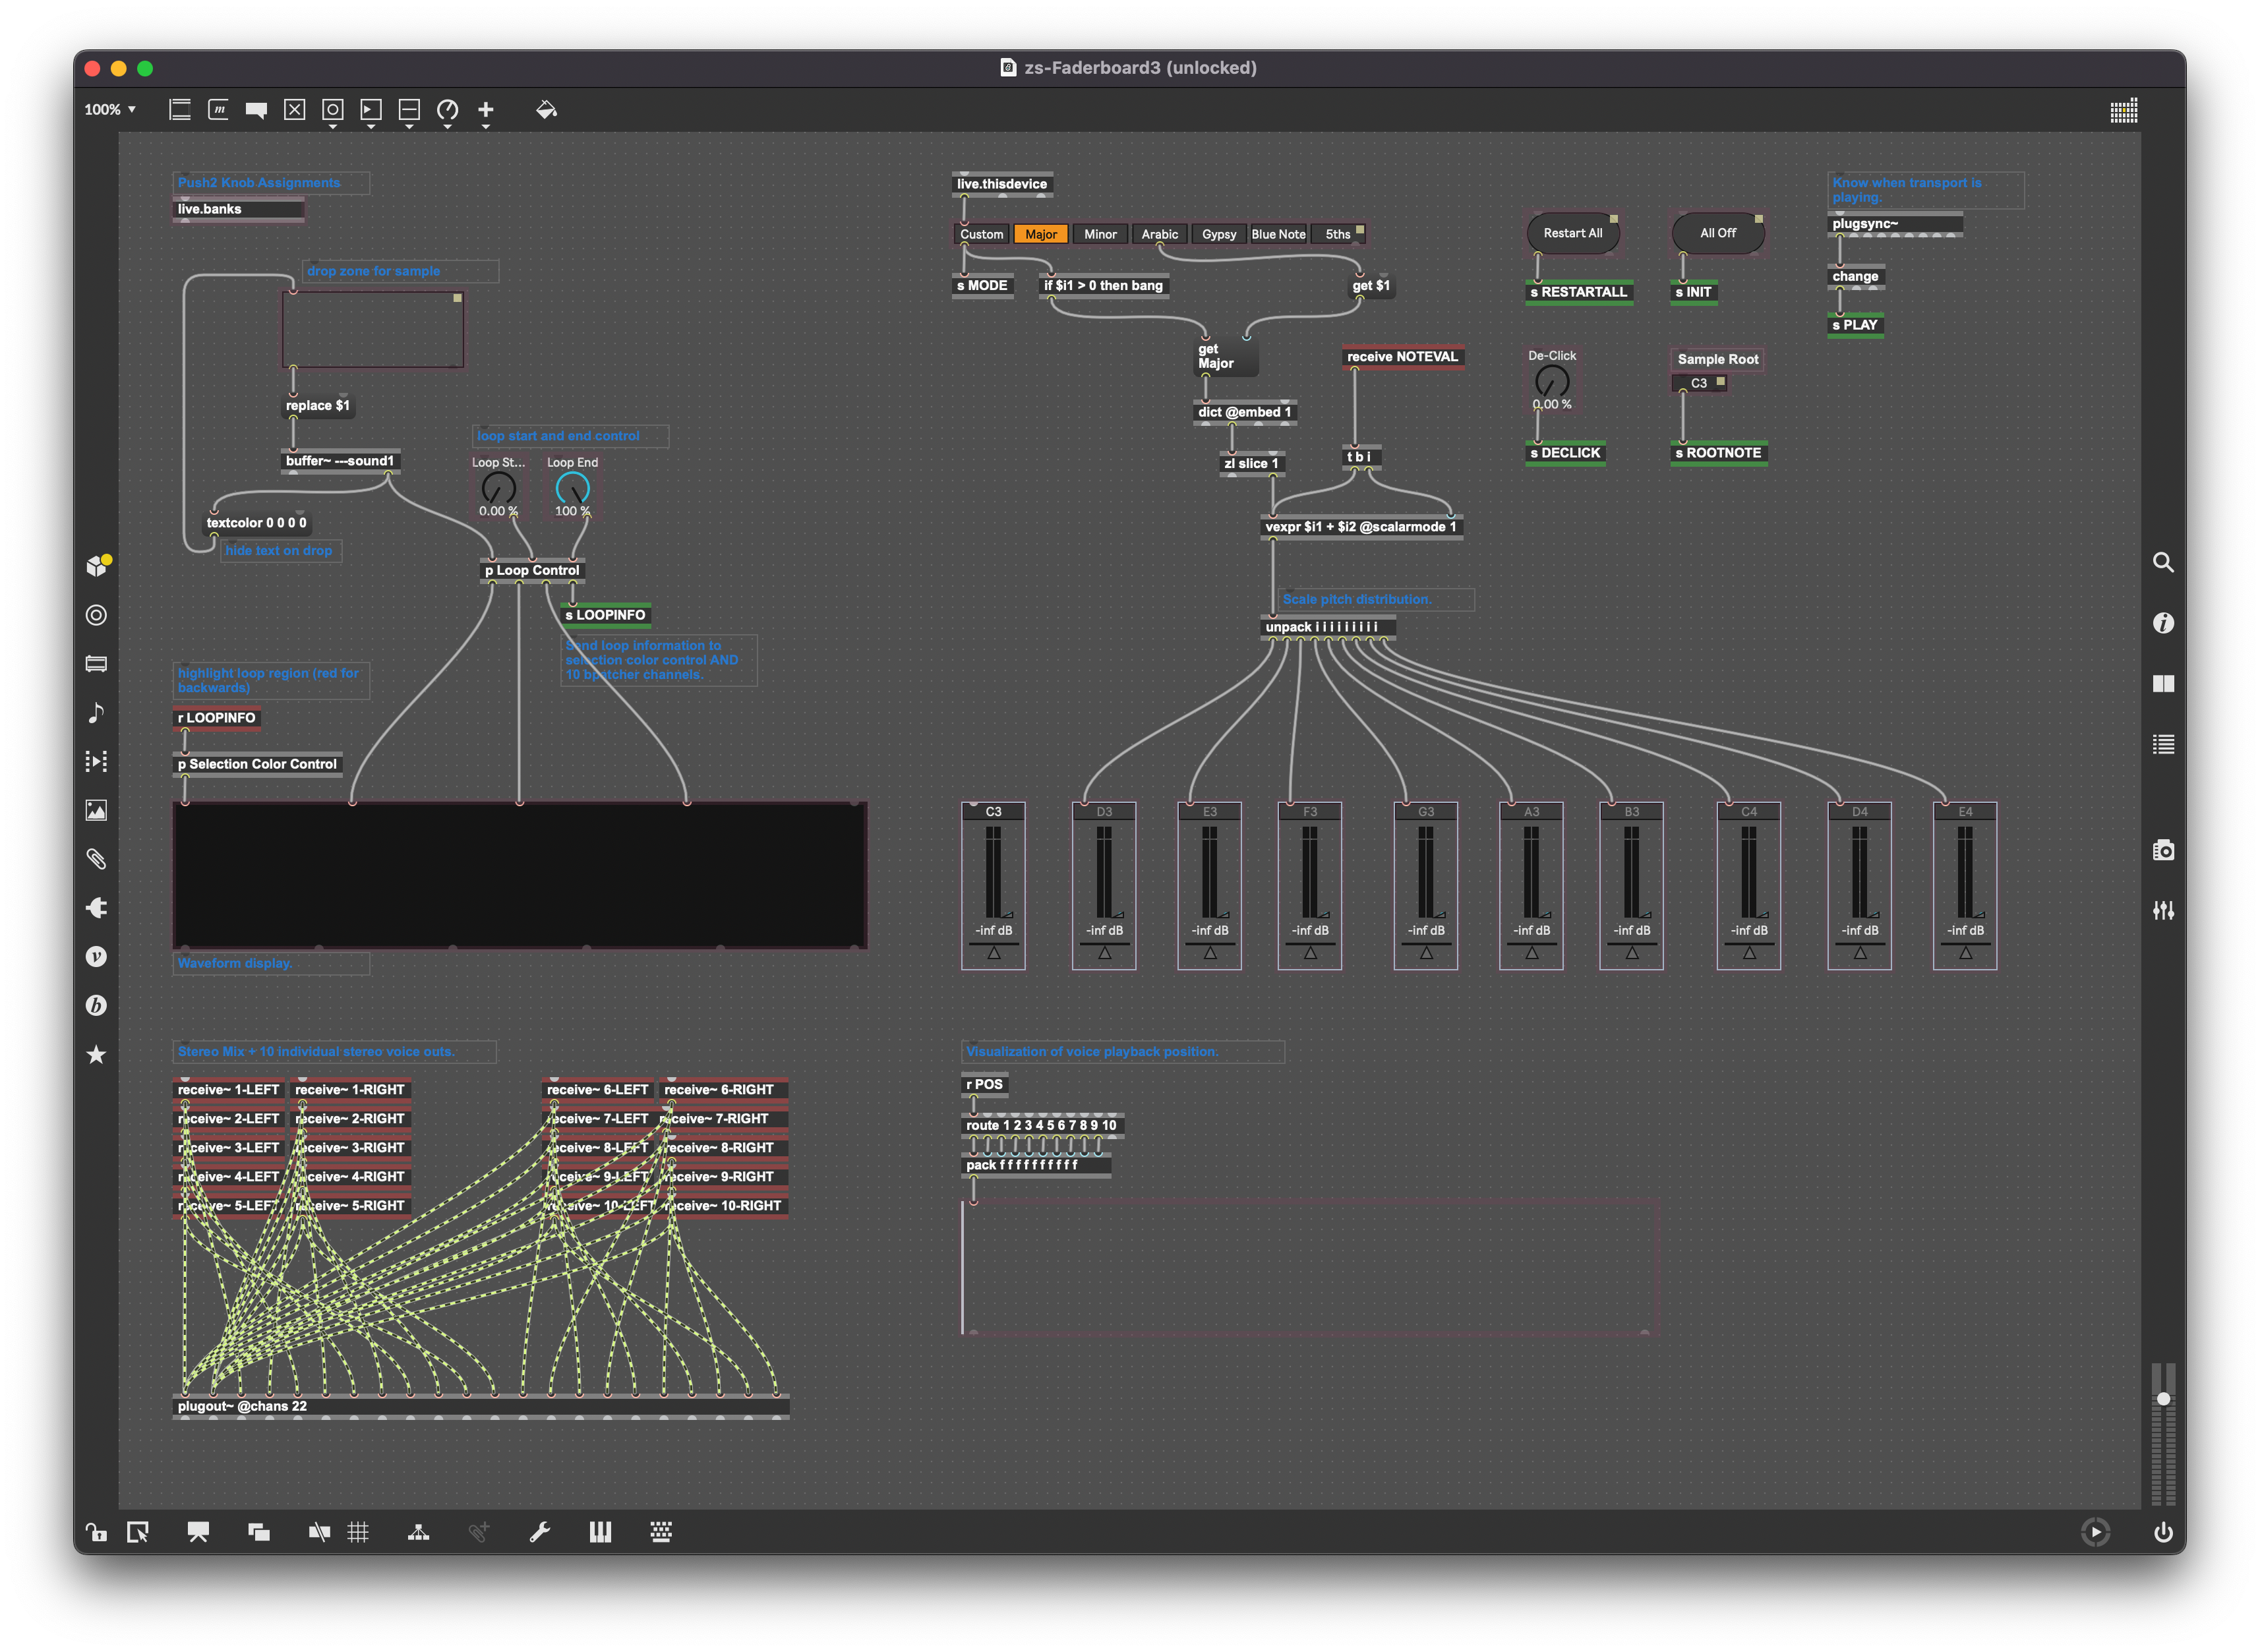
Using the [send NAME] and [receive NAME] (abbreviated [s NAME] and [r NAME]) objects can really help clean up your patchers and make them more understandable. The NAME helps to document the purpose or nature of messages traveling through the connection. I like to color-code the borders of the groups of [send] and [receive] objects (i.e. those sharing the same name) to make them easier to see and work with.
Before: 
After: 
Buffers and other Named Things Are Shared By Default
If you have a [buffer Foo] object inside of a patcher, that buffer named "Foo" is shared between all instances of your patcher (which includes all copies of a Max For Live device in a Live Set). To make sure that the buffer stays local to its home patcher, prefix the name with three dashes, like [buffer ---Foo]. Same goes for [send], [receive], and other objects that take a name argument.
Encapsulation
[bpatcher] For Repeated UI Elements
This one took me too long to find. In cases where you have the same UI elements repeated, then a [bpatcher] helps you avoid duplication. It's similar to an <iframe> if you know HTML.
[bpatcher] Internal Awareness of Instance
This has come up for me a couple of times. If you have several instances of a [bpatcher] or [patcher] and each instance needs to know their particular instance number, then there are a couple of ways to do it.
One way is to send a message containing an ID number to an inlet in each [bpatcher]. Then, inside the [bpatcher], use that number to set things up however you need to.
The other way is with [bpatcher] arguments. Those arguments are set in the inspector, and accessed in the bpatcher with the special values #1, #2, #3, etc. Many objects will automatically do string substitution of #N with the value of argument N, but I also have found that the string substitution is inconsistently applied -- with some objects and properties replacing it anywhere, and some only recognizing it at the beginning of the string.
Developer Workflow
Cycling 74 has published some good tips (though good luck finding them!) for making sure your devices you make and distribute are good. One thing that seems to be ignored is how to apply good programming discipline to Max work.
Use git
Each device I work on in any significant manner lives in a dedicated directory, which is also a git repo. Using git in my workflow allows me to branch to try different things, or revert to a known good state if an experiment goes in a bad direction.
To make a directory into a git repo, simply run git init in that directory. You can make a repo on GitHub and invite others to collaborate.
Any work that I think is worth keeping is checkpointed with a git commit. This lets me try all kinds of things without worrying about getting back to a good place.
Add a README.md
Good software has enough documentation to help a new user get up to speed, or decide if it's something they want to install. By putting a README.md file in your project root gives you a place to document installation, usage, include screenshots, etc.
Distribute Versioned, Frozen Files in GitHub
When you get your project to a point where you feel like other people should use it, lock and freeze it, then do File .. Save As and save it in a frozen/ or similar directory in your project. Give it a name that includes a version number, like myCoolDevice-0.0.1.amxd, then git add and git commit this frozen device. This gives you a clear path to make improvements, and lets your users upgrade with you, since it's possible to totally change a device from one version to the next, and you don't want to break peoples' old projects if they upgrade your device.
You can link to your frozen versions in a Changelog section of your README.md file.

What Else?
Do you have tips to share with others? Send me a message at [email protected] with your tips or a link to your post and I'll consider adding it here.
If you'd like to see some devices I've put together, have a look at the Music Tools page. There are links from there to the various GitHub repos where you can see working examples of everything in this post.