TrueNAS for Awesome Home Storage, Media, and Backups
yo I'm a constant optimizer and evolver with basically everything. I also enjoy working with computers, so challenges around technology are more fun for me than they are chores. This post captures my current solution of using TrueNAS for home network file sharing, media serving, and backups.
Context
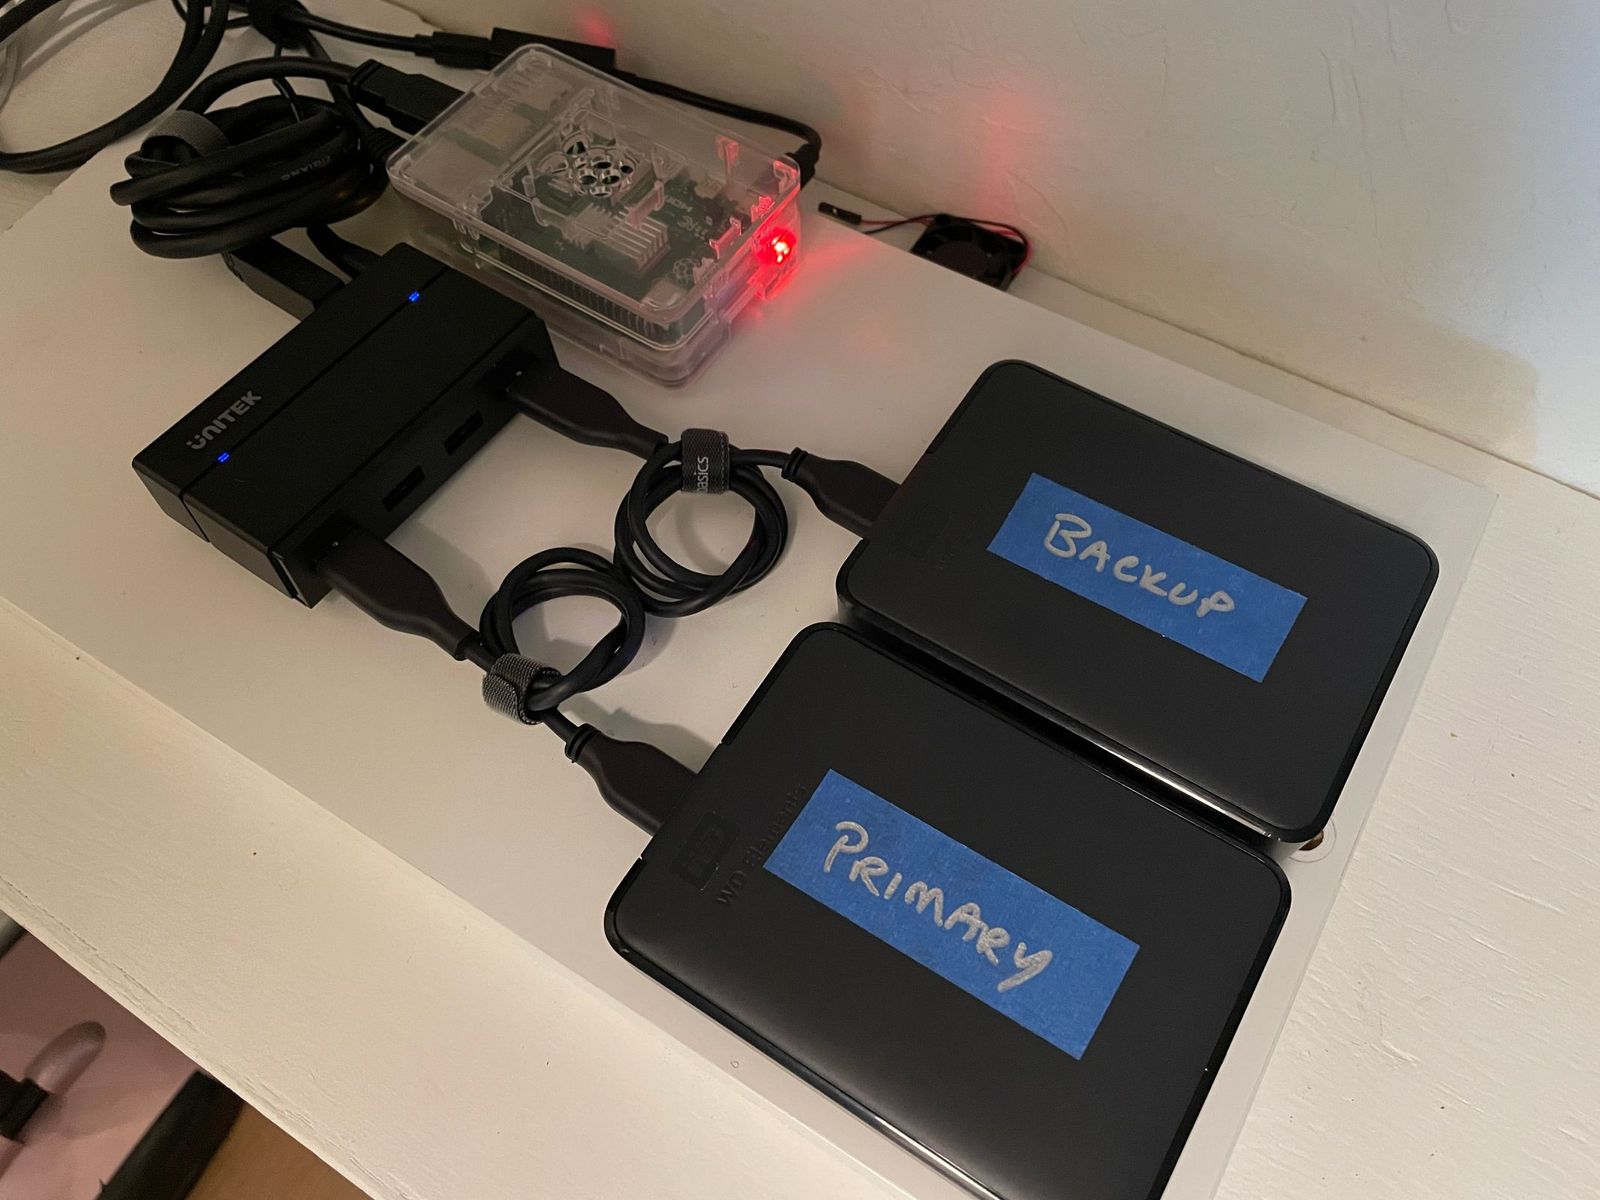
A while back, I wrote about how I was using a Raspberry Pi as a fun Linux server for the home. I attached a couple of 2.5" 4TB HDDs to it and shared them with Samba for general file storage and Time Machine backups. This was a functional solution, but it was really slow and kind of a physical mess, with the drives hooked to the Pi through a powered USB hub because the Pi doesn't have enough juice to drive two drives.
I considered using two 4TB SSDs to help solve the speed and power problem, but they're pretty expensive, and I wasn't quite sure how different it would be.
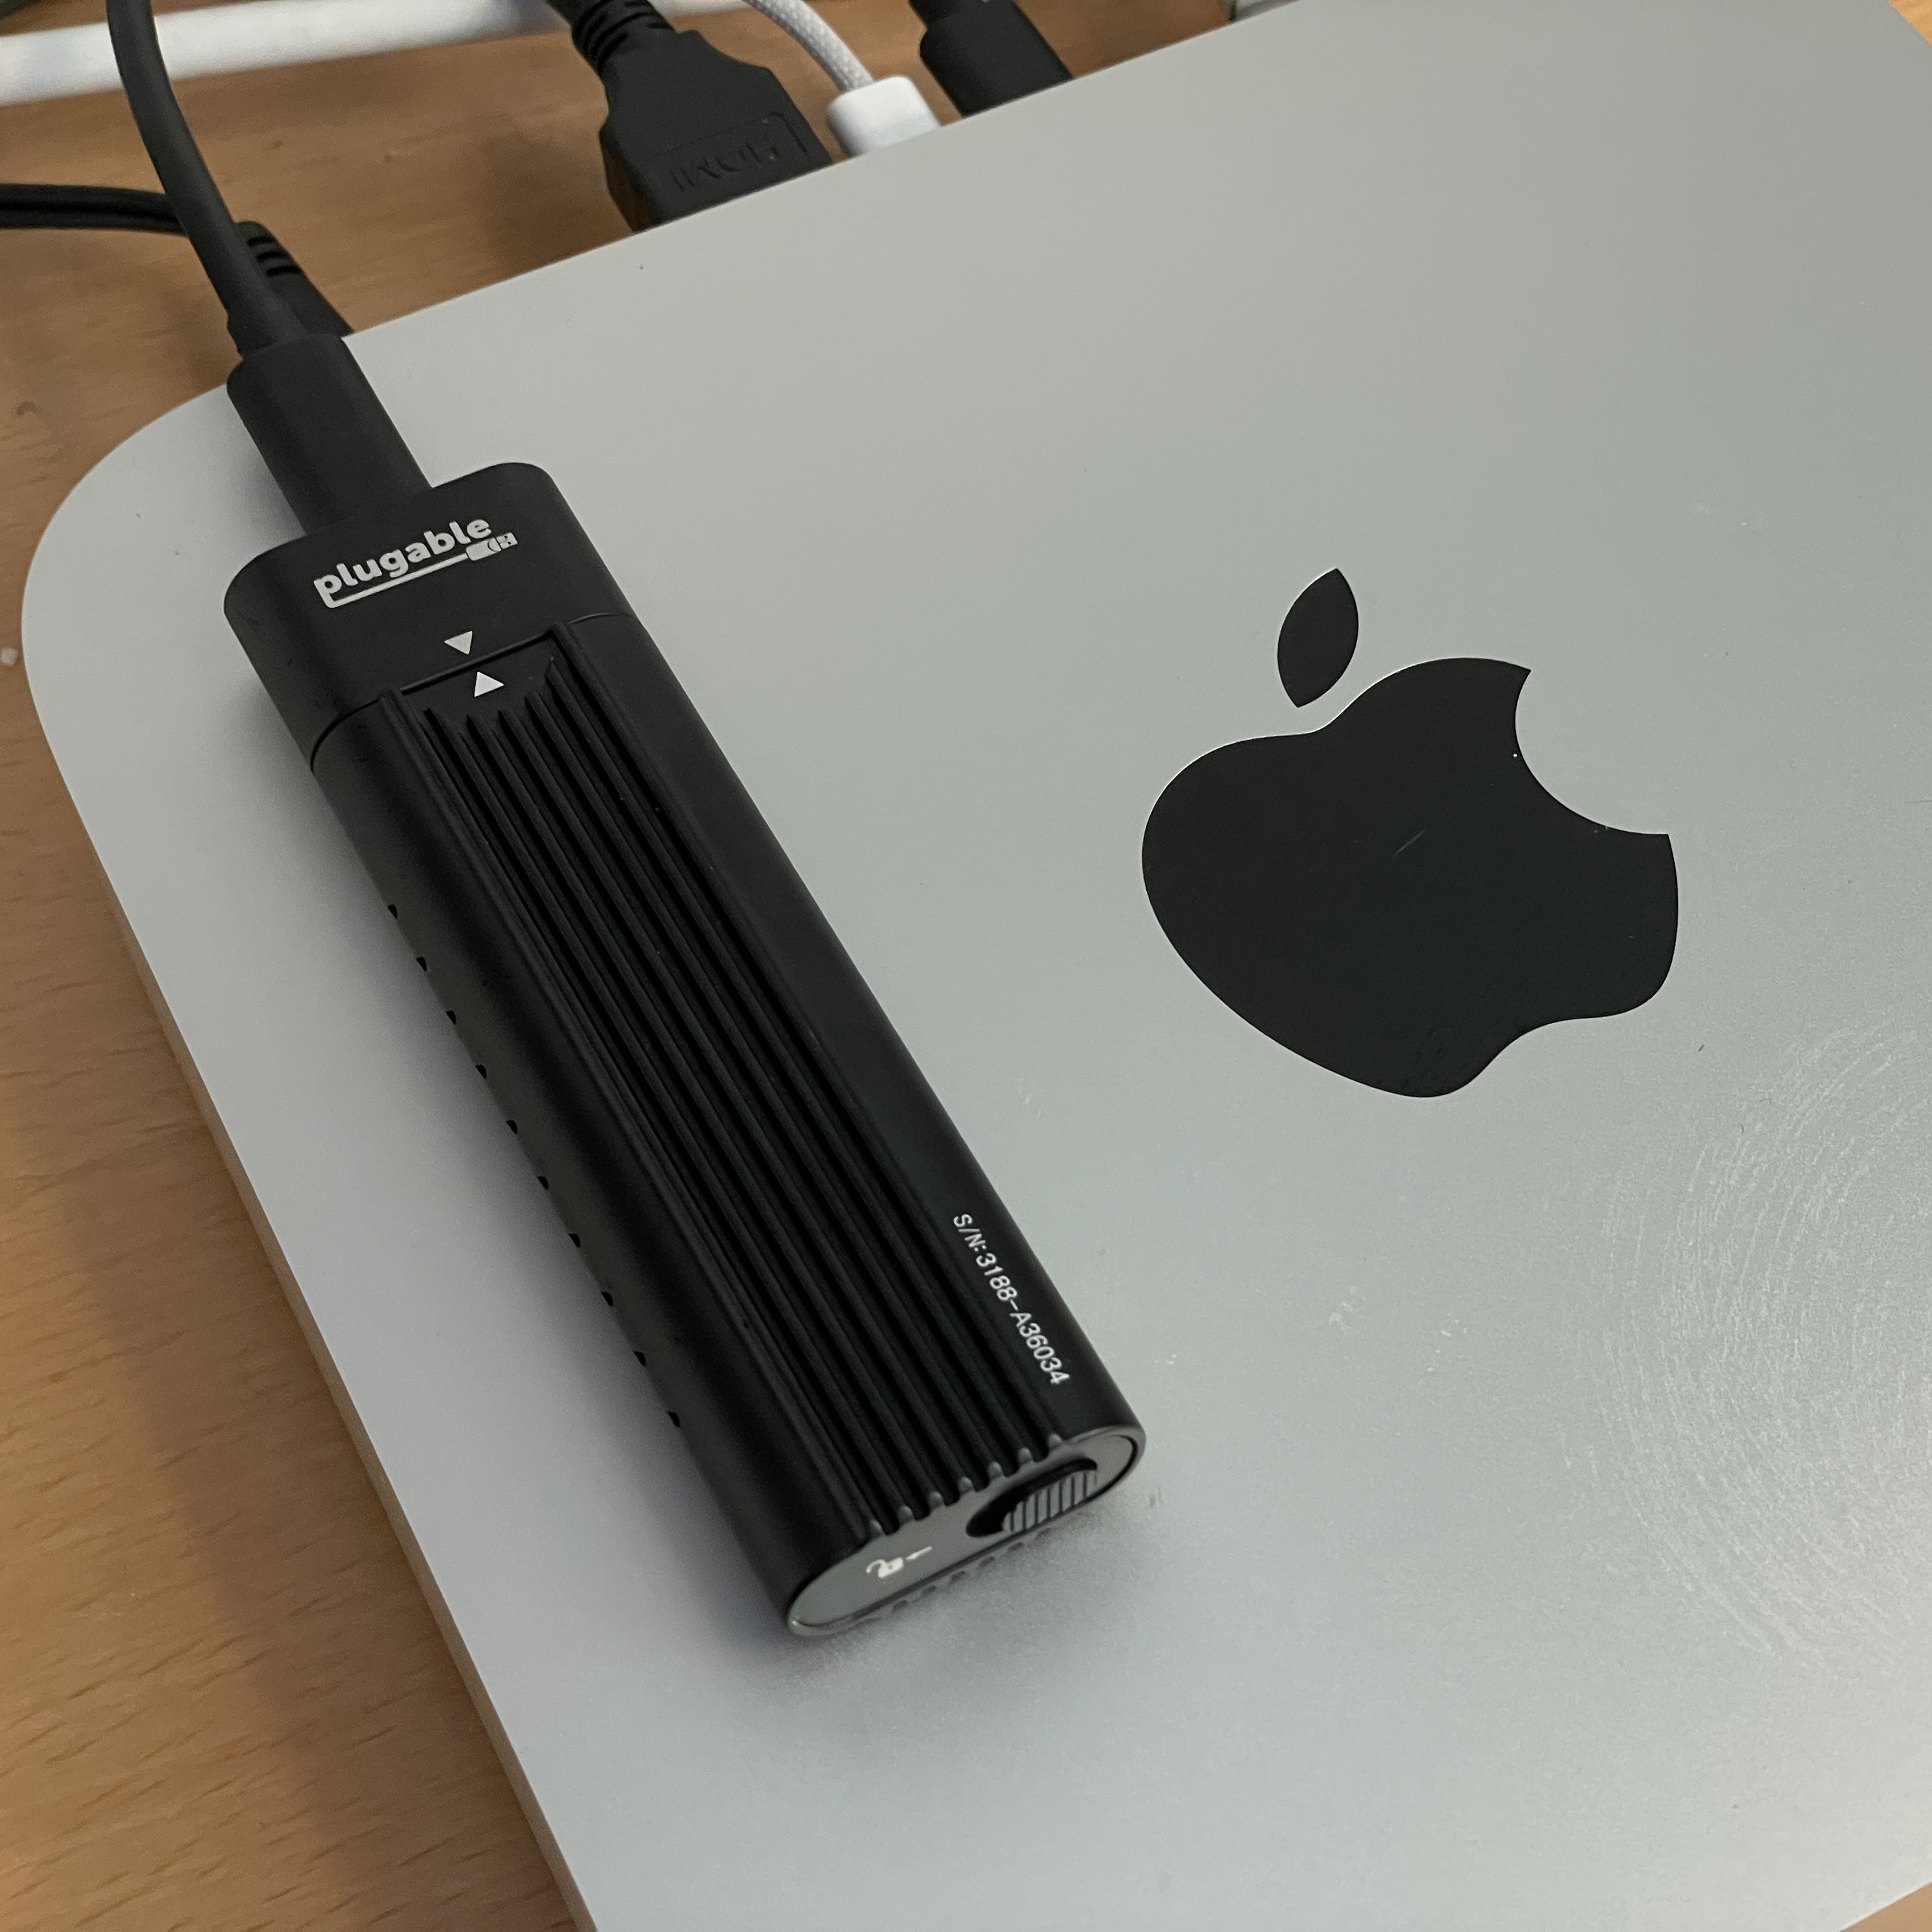
My next solution was to ditch the Pi and hook a 4TB NVMe in a USB 3.2 enclosure onto an M1 Mac Mini that I have here. This would let me use a fast computer and fast storage to serve the needs here at home. It worked most of the time, but the NVMe drive would randomly eject from the Mac, so it was very unreliable.
Enter TrueNAS
I visited my buddy Eric, and he told me about his solution for his house. Eric is a person that I know to be totally legit when it comes to technology advice. He mentioned he was running software called TrueNAS on a dedicated computer. He's always good for an industrial strength solution, and so I listened carefully.
TrueNAS is basically FreeBSD with a friendly management layer, with deep functionality for controlling ZFS "storage pools". This was my first time digging into ZFS, and I've got to say it's super impressive. It was developed at Sun in the early 2000s, and is basically everything anyone could ever want in a file system - expandable, reliable, performant. TrueNAS makes it (fairly) easy to use, even in a home context.
Being that it's FreeBSD under the hood, the computer can be used for more than storage too. There are a number of Services like dynamic DNS, ftpd, iSCSI, and OpenVPN that you can enable. Additionally, there are plugins that can be installed from the TrueNAS UI like Plex (home media server) with just a click.
A Bit About FreeBSD Jails
Plugins run something called a "jail" which is kind of similar to a Docker container, but not completely the same. Jails have their own virtual network interface, can only see other processes within the jail, and have their own root filesystem. With TrueNAS, you can mount directories from storage pools into the jail to give the jail access to whatever it needs. For instance, for running Plex, you need to mount the directory in the NAS's storage pool containing your media files (movies, music, pictures) so that Plex can index and serve them. By keeping the storage and the service separate, it allows for better security, easier management of the storage, as well as making upgrades to the plugin very straightforward.
Let's Go!
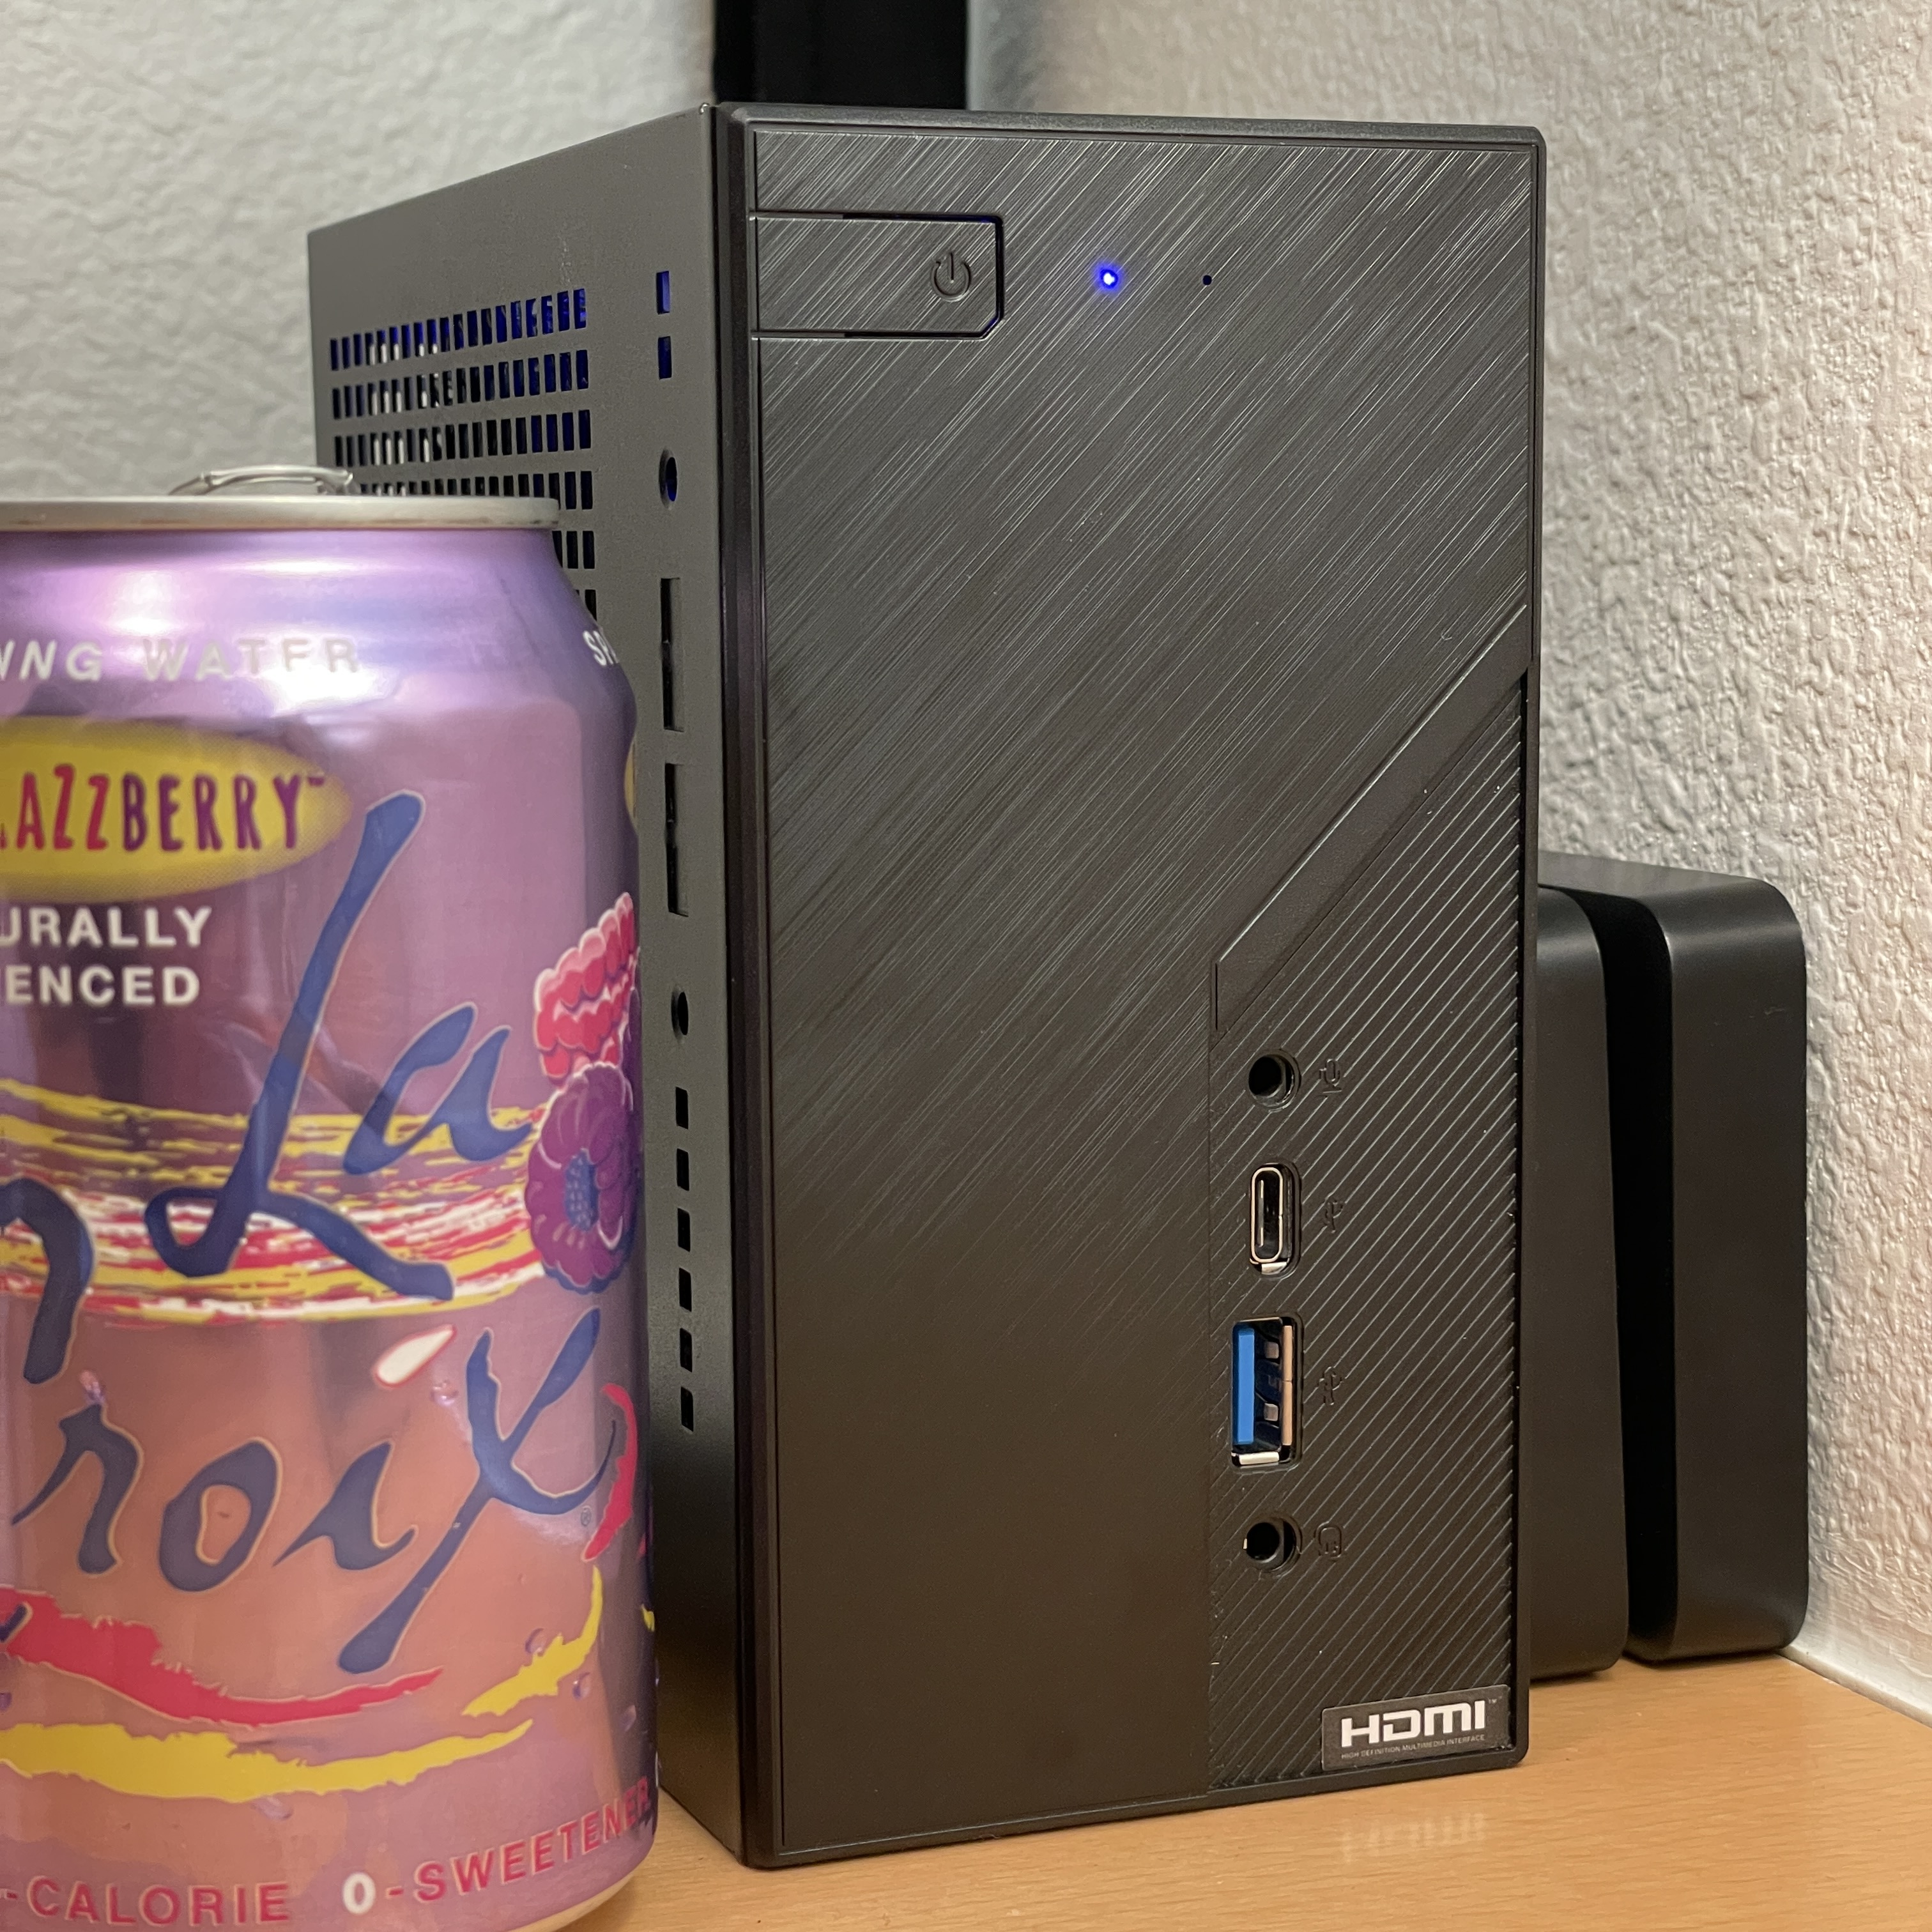
With all this information in mind, I was excited to give it a try. I headed over to Central Computers (the best computer shop I know), and set out to put together a little PC to run TrueNAS.
I knew I wanted something small, power-efficient, performant, and hopefully inexpensive. I came home with a great little barebones PC built around the Asrock DeskMini B660W. This is a barebones system, which means that it's just the case, power supply, and motherboard. I added an Intel Core i5-12400, 16GB of RAM (single SODIMM), and a Western Digital 1TB NVMe drive for the OS. Total price was $578. Not great, but not terrible. I knew though that this would be a speedy little system!
The Asrock motherboard has two NVMe slots, so it could also hold my 4TB NVMe drive in addition to the operating system drive. This was to be the primary network storage drive. I connected my two old 2.5" 4TB HDDs to its rear USB ports to serve as on-site backups and configured them as a single mirrored storage pool. TrueNAS makes setting up a backup like this very easy.
I know it's not the best idea to use a single drive in a storage pool, but if the fast 4TB NVMe drive failed, I decided I could limp along for a day or two running off of the two slow 4TB external drives while a replacement NVMe arrived. Reconfiguring the network shares would only take a couple of minutes.
Installation and Setup
Installing TrueNAS on this new computer was very easy. I downloaded the installer disk image, and used Disk Utility on my Mac to write it to a USB thumb drive. I plugged that into the new computer, turned it on, and it booted from it without drama. The TrueNAS installation went without a hitch.
Setting up the primary and backup storage pools was initially pretty easy. The only snag was that I realized after I set up the Replication Task that I needed to make sure that ZFS snapshots were being created recursively on my data pool. This is configured under Tasks > Periodic Snapshot Tasks.
In the Replication Task, I also hit a snag when I selected "(almost) Full File System Replication". I initially chose this because it sounded right, but then was getting replication errors for backup pool snapshots not being found. I disabled that option, but made sure to leave "Recursive" selected in the replication task and it has been perfect since.
I configured a SMB share for general file sharing, as well as a Multi User Time Machine share for computer backups. There was another snag with the Time Machine share where the Macs on the LAN wouldn't be able to connect to it until I set a (ridiculously large) user quota on the share. This didn't make sense to me, and I suspect it's a bug.
Finally, I set up a Cloud Sync Task to back up the (locally encrypted) shared files to an Amazon S3 bucket. This was really straightforward to set up. Just log in to the AWS console, create a private bucket, then create an IAM user that has permission to write to the bucket. Copy the access key and secret, and paste into the Cloud Sync Task configuration screen and choose the bucket.
Frugal protip: Set the data access policy on the S3 bucket so that your data is moved to a cheaper storage tier quickly. This will save quite a bit of money, at the expense of perhaps having to wait a day to initiate a restore. Since this backup would only be used if my house burned down, I think that's a fair tradeoff. You can also throttle how much bandwidth the upload will use, even specifying different transfer rates by time of day.
Overall I'm really happy with this little computer!
Questions? Ideas? [email protected]